About Me
Elsa Rowlands, Instructor
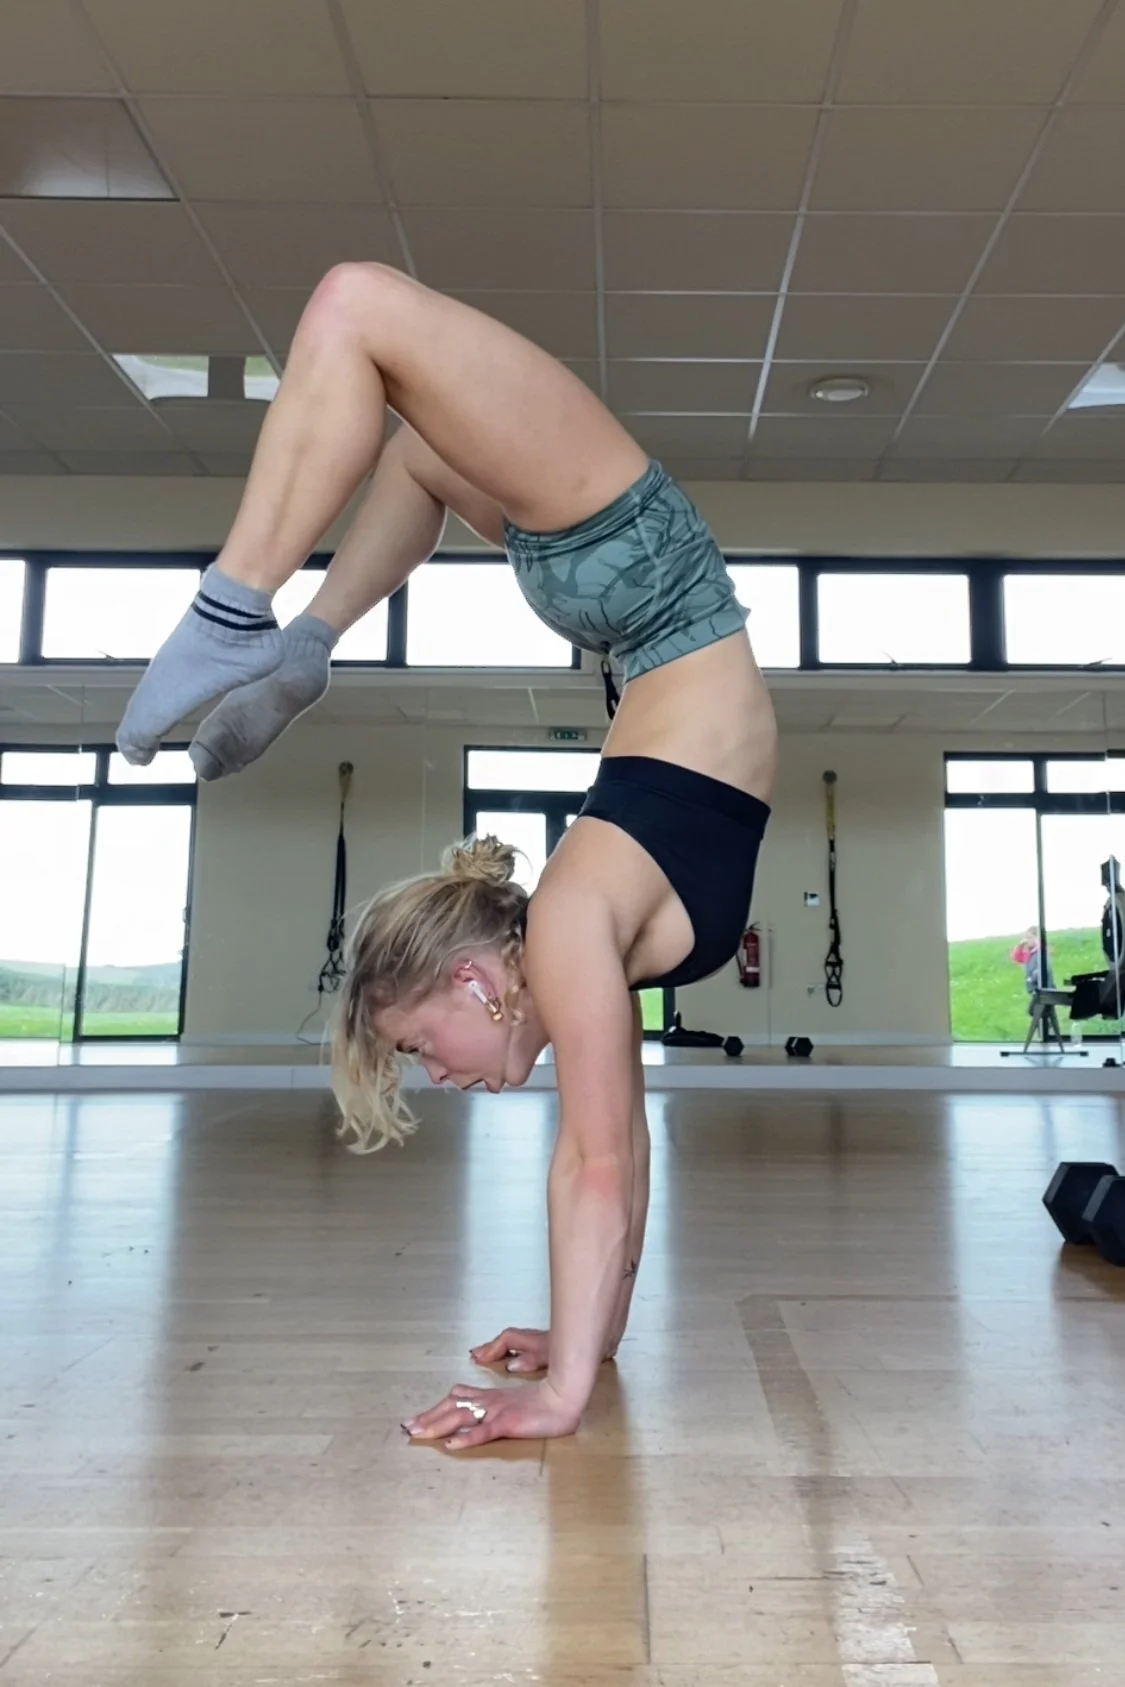
From a young age I have loved doing handstands and spent the majority of my childhood upside-down. I went on to train competitively as an acrobatic gymnast for 4 years, which involved doing handstands on both people and objects, as well as having others handstand from me.
For a period of my life I exercised because I felt like I HAD to; feeling like my body HAD to look a certain way, but I came to realise this was a toxic kind of motivation. My priority now is on skill-based activities like handstands where the focus is on celebrating what my body can do rather than what it looks like. This shift in mindset has made me the strongest I’ve ever been.
Handstands are my passion; in my opinion they are the best exercise out there for your body. Not only do they create a strong and mobile body which you can trust, the mind-body connection it requires quietens the noise of those day-to-day thoughts; there is peace, silence and clarity in the upside-down.
It gives me great pride and joy to be able to create this guide to share my love for the upside-down with you all. If ‘little gymnast Elsa’ knew that one day she would be teaching others to handstand and follow her passion, she would be very proud. So I hope you enjoy using this guide as much as I have enjoyed creating it.
Who can do it?
This guide is for both complete beginners and those who can handstand, but may want to be able to hold it for longer; work on their form; or want more structure with their training.
This guide starts from the beginning, working on the basics in order to build a solid foundation. Beginners are advised to begin here and work their way through the 7-steps, using the 10-week plan to help structure their training and master the steps.
Everyones handstand journey will be different. Some of you may need to spend more time on various stages, for example, building your strength, conquering the fear of being upside down or achieving the correct form. Don’t worry - the beauty of this guide is that there is no time pressure, just move at your own pace.
If you are not new to handstands, feel free to choose the sections which are relevant to your skill level, the 10-week programme can easily be adapted relevant to your skill level - you can dip in and out as you need. However, if you are ever struggling to progress, it is always a good idea to revisit the basics and assess your technique.
How to use this guide
Make sure you warm-up:
I have provided several options for the wrists and shoulders. Not only will a warm-up help prevent injury, but it will ensure your muscles are properly prepared to get the most out of your training.
Learn the skills first:
Before starting the 10-week programme, familiarise yourself with the 7 foundational skills explained in the guide.
Prioritise your handstand training:
If you are incorporating handstand training into your regular gym sessions. I would highly recommend practicing your balancing skills at the beginning of your workout as these skills require concentration and a fresh focus to really benefit your progression. However the conditioning can be done as a finisher.
Follow the weekly schedule:
The 10-week programme is structured to progressively build your strength, flexibility and balance. Each week includes specific drills and conditioning tailored to reinforce the 7 key skills you are learning.
Focus on consistency:
Aim to practice 2-4 times a week. For most beginners, practicing for around 20 minutes will be enough before your wrists and shoulders will fatigue. However, if you already have some foundational strength I would recommend 45 minutes. It’s impossible to say how long it'll take, because we're all different. Just keep with it, and you'll improve. 🙂


